Install LaTeX on Ubuntu or Debian
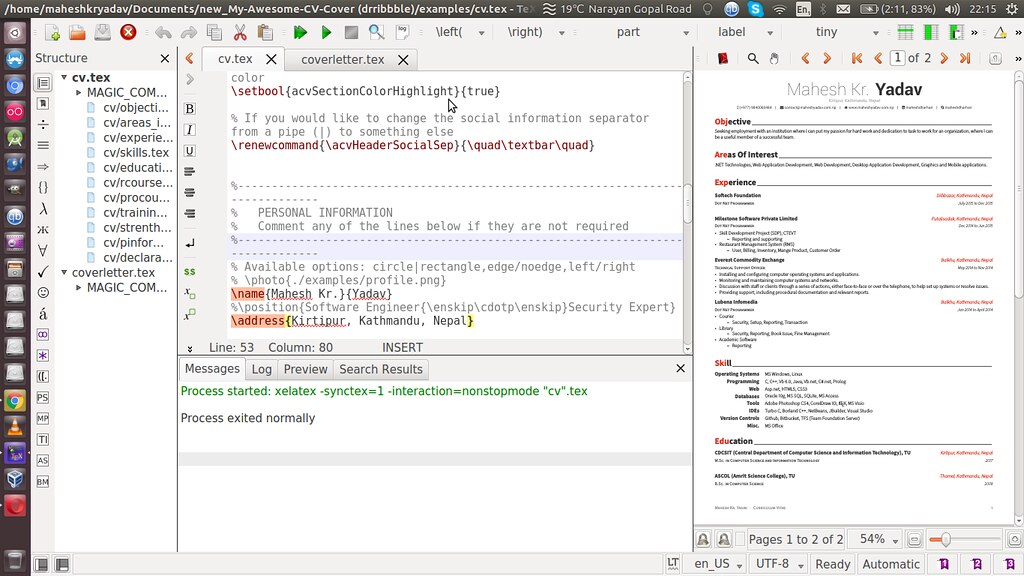

Latex

LaTeX is a document markup language and a text preparation system to create documents. LaTeX is recommended to create technical or scientific articles, papers, reports, books and other documents like PhDs.

1. OPEN YOUR TERMINAL
A terminal is a Command Line Interface (CLI) where you type commands to tell the computer what to do. Make sure you've opened the terminal, if so, continues in the next step.
2. INSTALL TEX LIVE
TeX Live is a TeX distribution to get up and running with the TeX document production system. To install it, once you're in the terminal, enter the following command:
sudo apt-get install texlive-full
Then, type your 'sudo' password and you'll have installed Tex Live. This operation may take a long time.
3. INSTALL TEXMAKER
Now you need a text editor. I recommend using a specific editor for LaTeX. There are many text editors for LaTeX on the Internet as Kile, TeXworks, JLatexEditor, Gedit LaTeX Plugin, etc. My favorite text editor for Latex is Texmaker. Texmaker is a cross-platform open source LaTeX editor. To install it, go to the Ubuntu or Debian terminal and enter the following command:
sudo apt-get install texmaker
In a few minutes you'll have installed Texmaker.
4. CREATE YOUR FIRST DOCUMENT
To check that everything is working properly, create a LaTeX blank document. Open Texmaker and click on File, New. Then write the following code:
\documentclass{article}
\begin{document}
    Hello, world!
\end{document}
Now save the document as a 'tex' file going to File, Save. Finally, compile the document clicking on Tools, PDFLaTeX. Make sure the 'pdf' file has been created and it's working. And that's it! You've created your first LaTeX document!
how to delete all commit history in github? [duplicate]

Deleting the .git folder may cause problems in your git repository. If you want to delete all your commit history but keep the code in its current state, it is very safe to do it as in the following:
  1. Checkout
    git checkout --orphan latest_branch
  2. Add all the files
    git add -A
  3. Commit the changes
    git commit -am "commit message"
  4. Delete the branch
    git branch -D master
  5. Rename the current branch to master
    git branch -m master
  6. Finally, force update your repository
    git push -f origin master
Hope this helps. this will not keep your old commit history around :)

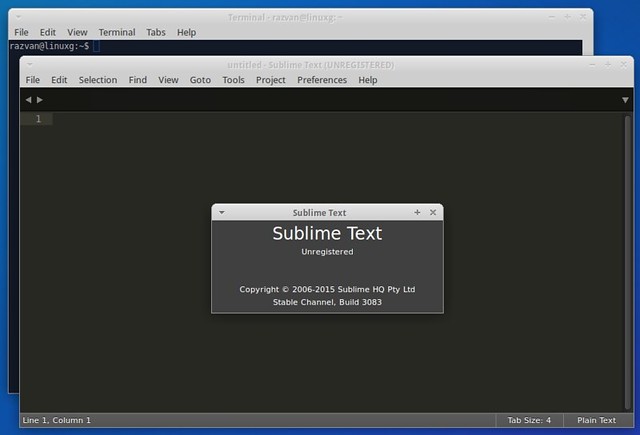
How To Install Sublime Text 3 (Build 3103) On Ubuntu 16.04, Ubuntu 15.10, Ubuntu 14.04 And Derivatives.


Sublime

Installation instructions:

In order to successfully install Sublime Text 3 on Ubuntu 16.04 Xenial Xerus, Ubuntu 15.10 Wily Werewolf, Ubuntu 14.04 Trusty Tahr, Linux Mint 17.x, Elementary OS 0.3 Freya and other Ubuntu derivative systems, you have to add the PPA to your system, update the local repository index and install the sublime-text-installer:
$ sudo add-apt-repository ppa:webupd8team/sublime-text-3
$ sudo apt-get update
$ sudo apt-get install sublime-text-installer
Optional, to remove sublime text, do:
$ sudo apt-get remove sublime-text-installer

Fix time differences between Ubuntu and Windows


A. To fix the UTC / local time difference between Ubuntu and Windows from Ubuntu by making Ubuntu uses local time.

Before proceeding, note that according to the Ubuntu wiki, "the advantage of having the hardware clock as UTC is that you don't need to change the hardware clock when moving between timezones or when Daylight Savings Time (DST) begins or ends as UTC does not have DST or timezone offsets". So this is not recommended and if you can, you should use method B., and fix this from Windows.

For Ubuntu 16.04 and newer, run the following command (thanks to Erwinson Pagtalunan for the update!):
timedatectl set-local-rtc 1

You can then check if Ubuntu uses local time, you can then use the following command:
timedatectl
Which should display the following "RTC in local TZ: yes". A warning will also be displayed. Here's the full command output:
$ timedatectl
      Local time: Lu 2016-04-25 12:18:22 EEST
  Universal time: Lu 2016-04-25 09:18:22 UTC
        RTC time: Lu 2016-04-25 12:18:22
       Time zone: Europe/Bucharest (EEST, +0300)
 Network time on: yes
NTP synchronized: no
 RTC in local TZ: yes

Warning: The system is configured to read the RTC time in the local time zone.
         This mode can not be fully supported. It will create various problems
         with time zone changes and daylight saving time adjustments. The RTC
         time is never updated, it relies on external facilities to maintain it.
         If at all possible, use RTC in UTC by calling
         'timedatectl set-local-rtc 0'.

For Ubuntu versions older than 16.04: you must edit the /etc/default/rcS file and replace "UTC=yes" with "UTC=no" (both without the quotes). To do this automatically, simply copy/paste the following command in a terminal:
sudo sed -i 's/UTC=yes/UTC=no/' /etc/default/rcS
And then reboot.


B. To fix this from Windows (it should work with Vista SP2, Windows 7, Server 2008 R2 and Windows 8/8.1), by making it uses UTC instead of local time, download THIS Windows registry file and simply double click it.

Then, to disable the Windows Time service (which still writes local time to RTC regardless of the registry setting above, on shutdown), run Command Prompt as Administrator and paste this command:
sc config w32time start= disabled
And reboot.


How to revert the changes


A. From Ubuntu: reverting this change from Ubuntu is pretty easy.

Ubuntu 16.04 and newer: to revert the changes, simply run the following command:
timedatectl set-local-rtc 0

Ubuntu versions older than 16.04: all you have to do is replace "UTC=no" with "UTC=yes" in the/etc/default/rcS file. To do this automatically, copy/paste the command below in a terminal:
sudo sed -i 's/UTC=no/UTC=yes/' /etc/default/rcS
And then reboot your computer.

B. From Windows: reverting this change is a bit more complicated from Windows. 

Firstly, open the .reg file downloaded when applying the fix for Windows (see download link above) with a text editor and change the "RealTimeIsUniversal" value from "dword:00000001" to "-" (without the quotes). Here's how the file should look like after making this change:
Windows Registry Editor Version 5.00

[HKEY_LOCAL_MACHINE\SYSTEM\CurrentControlSet\Control\TimeZoneInformation]
"RealTimeIsUniversal"=-
Then save the file and double click it. 

Next, run the following command in Command Prompt (which you need to run as Administrator) to re-enable the Windows Time service:
sc config w32time start= demand
And finally, reboot.


References / more information:
                                                                                                                                       Source: online

Accesing mutlple users to Read/Write and Execute on same File/Folder in linux


Open Terminal:

1. Create a group

sudo addgroup linux-data

2. Add users to group

sudo adduser mahesh linux-data
sudo adduser kumar linux-data 

3. Change group ownership

sudo chgrp -R linux-data /media/mahesh/Linux-drive

4. Assign Read/Write and Execute permission to group

sudo chmod -R g+rwx /media/mahesh/Linux-drive
sudo chmod -R g+s /media/mahesh/Linux-drive