Accesing mutlple users to Read/Write and Execute on same File/Folder in linux


Open Terminal:

1. Create a group

sudo addgroup linux-data

2. Add users to group

sudo adduser mahesh linux-data
sudo adduser kumar linux-data 

3. Change group ownership

sudo chgrp -R linux-data /media/mahesh/Linux-drive

4. Assign Read/Write and Execute permission to group

sudo chmod -R g+rwx /media/mahesh/Linux-drive
sudo chmod -R g+s /media/mahesh/Linux-drive 

How to get sudo to prompt you for a password each time in linux


Open Terminal and type:
sudo visudo
Then scroll down to the line that reads:
Defaults        env_reset
And change it to:
Defaults        env_reset,timestamp_timeout=0
You can change 0 to any values (time in minutes). Setting it to 0 will ask for your password every time and -1 will make it never ask. The default is 15 according to man sudo 8, but some manuals say the default is 5. Have a look at the RootSudoTimeout wiki for more information.
Press CTRL + X to finish editing, Y to save changes, and ENTER to exit.
How to change disk checking (fsck) frequency at boot?


Ubuntu checks the root partition at about every 30th boot. If you have a desktop machine/laptop that you switch off every day, this number may be too small. In this case you can safely increase this number to 50 at least.
First, figure out where your root partition is using the df command which produces this result in my case:
Filesystem           1K-blocks      Used Available Use% Mounted on
/dev/sda6             30850168   9374588  19908444  33% /
/dev/sda8            129636480  52663092  76973388  41% /media/DATA
So my root partition (‘/‘) is at /dev/sda6.
Then check out your disk checking frequency:
sudo dumpe2fs /dev/sda6 | grep -i "mount count"
Where you need to replace /dev/sda6 with the value that is specific to your root partition. Its output is something like this:
dumpe2fs 1.42.13 (17-May-2015)
Mount count:              12
Maximum mount count:      26
Finally, if I want to increase the frequency to 50:
sudo tune2fs -c 50 /dev/sda6 
To disable file system integrity check for forever. Type following command
sudo tune2fs -c -1 /dev/sda6 
To check after 1 month. Type following command
sudo tune2fs -i 1m /dev/sda6 
List  the  contents  of the filesystem superblock, including the current values of the parameters that can be set via  this  pro‐gram.
sudo tune2fs -l /dev/sda6
Where, again, you might need to replace /dev/sda6.

How To Stop Wi-Fi Stealing And Catch That Person


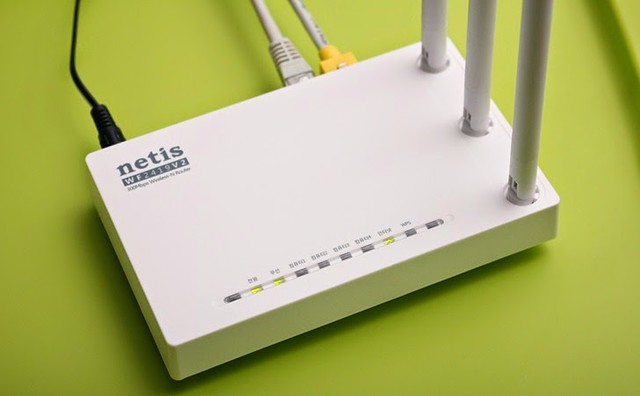
backdoor-Netis-Netcore-Router
Often we are unable to locate an uninvited user who uses our Wi-Fi. If someone uses our Wi-Fi without our knowledge, that would be termed as Wi-Fi stealing.Whatever be the case, to be on the safer side, we must know who is using my Wi-Fi without my permission and how can we stop them. So, here are the steps

Login to your router

Different routers support different login styles. So, I am listing a few of the logging in style, out of these, one might work for you:
  • 1. Punch in the IP address of your router in your browser address bar directly like 192.168.0.1 or 192.168.1.1
  • 2. If the above address does not work, you can also try routerlogin.com and it will redirect to your router admin panel.
  • 3. Enter the administrator username and password.
  • 4. nce you are inside the admin panel, look for menu options like ‘Connected devices’ or ‘Attached devices’.
  • 5. If you are able to find that menu, you can see the MAC Address, IP Address and Device name of all the devices which are connected to your network. This is how my Attached devices looks like.
  • 6. If you see some extra person’s name or some extra device then they are the one who might be using your Wi-Fi without your permission. Read on to know the steps to stop Wi-Fi stealing.

Mac Filtering

How to stop someone from Wi-Fi stealing?

Once you come to a conclusion that someone else is making use of your Wi-Fi resources, you can simply change the password of your Wi-Fi to a stronger password. You can also switch off your SSID broadcast.
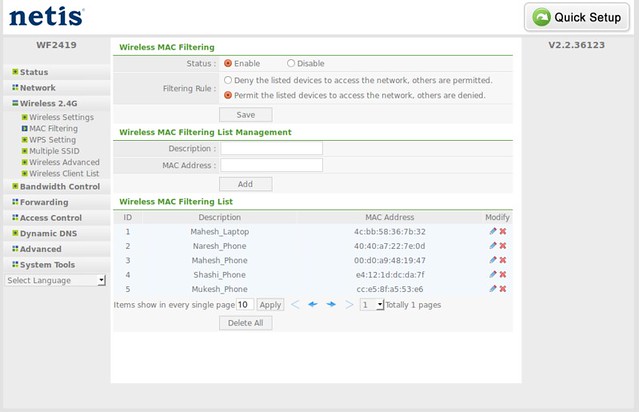
If you want a stricter action, you can set up a filter based on the MAC address of the devices.

How To Hack WiFi Using Wps Wpa tester...?


Want to take advantage of your neighbor’s super fast Wi-Fi connection? If they’re smart, they probably have it password protected (otherwise you wouldn’t be reading this, would you?). But if you have an Android phone, you can get back at them for always parking in your spot and slamming the door when they get home at 2 a.m.—by stealing…er, borrowing, their connection.

So Today i am posting how to hack Wi-Fi password in less than 1 min with App Name WiFi Wps Wpa tester .

Requirements:

  •    1. Rooted Android Device (4.0+ recommend).

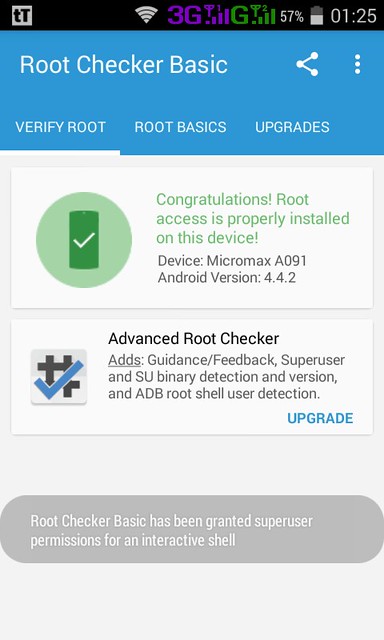
  • Root Checker

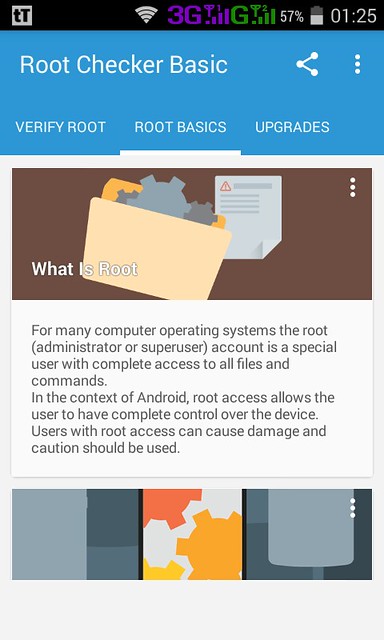
    About Root
  •    2. Wpa Wps Tester Premium 2.3.7 Cracked APK or later.
  •    3. Busybox Installed.
  •    4. Terminal Emulator installed. (no needed ).
  •    5. Recommended to use on high signal -60 or less.

HACK WiFi using WiFi Wps Wpa tester:

  •    1. Just download and Install Wpa Wps Tester Premium.
  •    2. Make Sure You Have Enabled The Unknown Sources In Settings/
  •    3. Open app and press refresh.
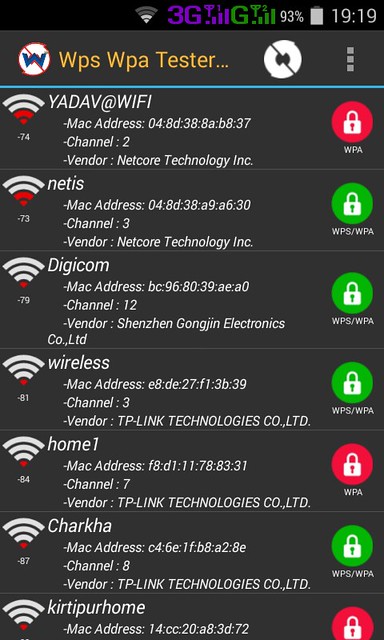
  •    4. Then the list of Wi-Fi networks available will be shown.

  • Scanned Wifi
  •    5. If you see a green Lock Icon click on it

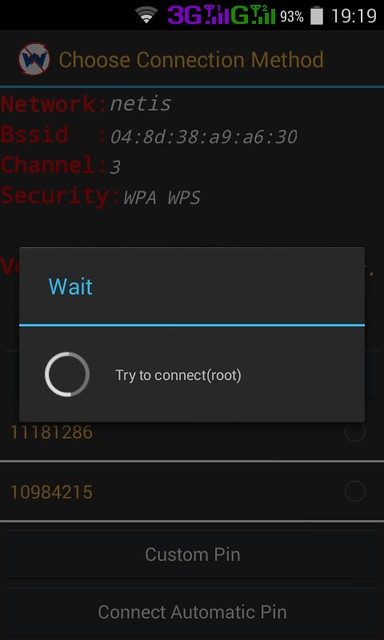
    Click on Connect Automatic Pin
  •    6. Press Connect Automatic Pin

  • Trying To Connect Wifi
  •    7. Copy the password and connect free hack Wi-Fi connection.